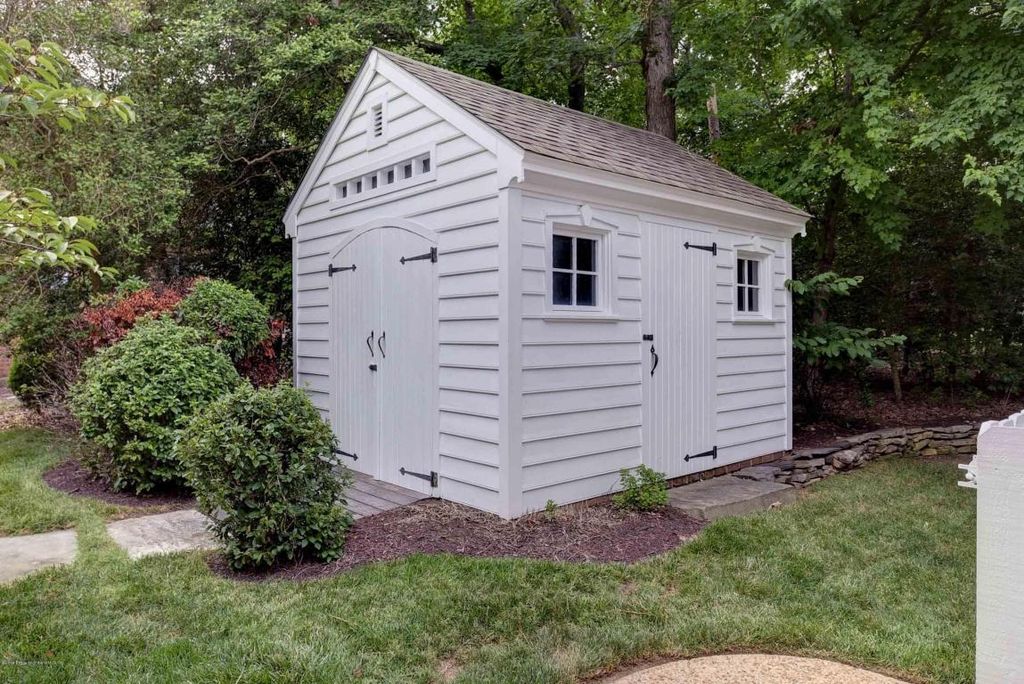
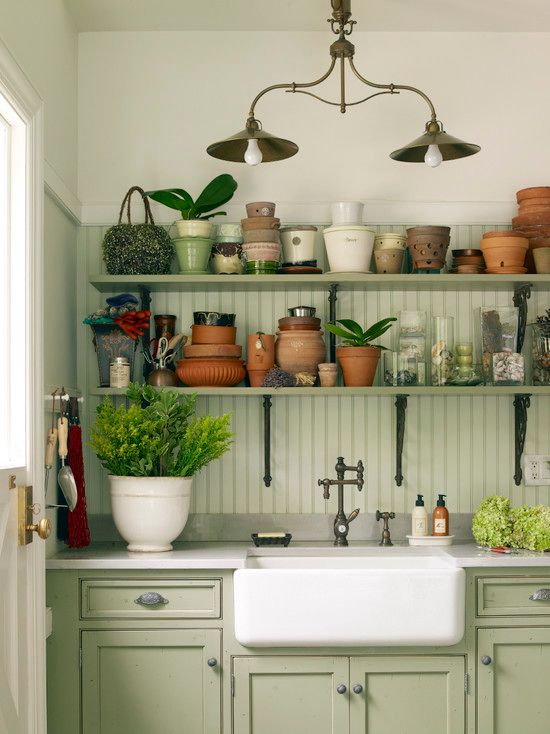
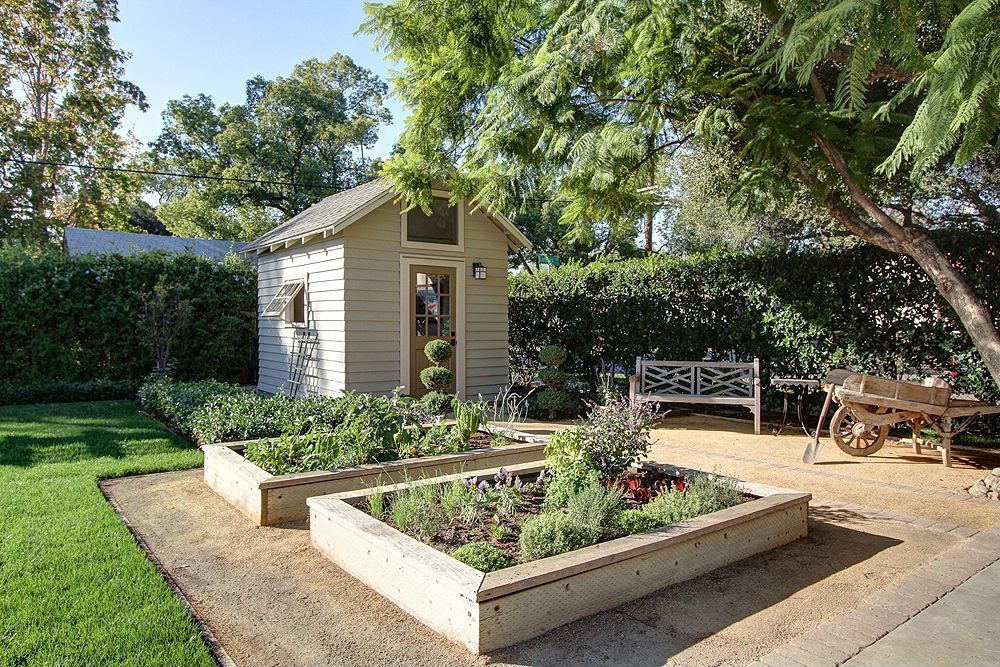
A garden shed is more than a place to stash your shovel and lawnmower – it’s a gardening workstation where you can plant and repot to your heart’s content.
Of course, if you don’t have a shed, you can always improvise. Turn a corner of the garage, balcony, or patio into the next best thing by including a potting bench and enough storage space for your gardening gear. And if you have to set up your workspace outside, keep it in a shaded space, and store your products and tools in watertight storage containers.
Wherever you choose to make your gardening workspace, give it the same attention you’d give your home office or kitchen. Follow these tips to make it work for you.
Show off your garden shed
A shed is a utilitarian place to store stuff, of course, but it’s also an opportunity to incorporate architectural interest into your garden.
Mirror your home’s paint colors to create a harmonious effect, or turn it into a focal point by painting it a bright accent color. Just be sure that it complements your existing color scheme.

Give your garden shed the same amount of curb appeal you’d give your home. To avoid mowing the awkward space around your shed, give it a foundation planting, and surround it with ground covers, like mondo grass.
Make room for a potting bench
Technically, you can use any counter-height table as a potting bench, but it’s all the bells and whistles that make the difference – features like potting sinks, open shelving, drawers, hooks, and even paper towel bars.
Make your own potting bench from scratch, or repurpose an old bathroom vanity or console table for a little more character. You can also purchase a readymade potting bench from your local garden center or hardware store, but choose one built with quality wood that can withstand moisture and sunlight.

Keep it clean
Dirt and debris are bound to turn up in your workspace, but too much will attract pests like cockroaches, silverfish, and earwigs.
To keep your workspace tidy, wipe down your mower, edger, shovels, and hoes with a stiff brush before putting them away, and store them by the door for easier cleanup.
Clear the floor for easy sweeping by placing large supplies in stacking plastic bins, then label one for herbicides, one for fertilizer, and so on. Keep a large, lined kitchen trashcan around so you always have a place to put those empty plastic pots and bags.
Don’t hoard supplies
Workspaces are made for working, so don’t treat yours like a storage shed. Excess stuff is more than a waste of space – it makes it harder to get things done and even creates hiding places for dirt and bugs.
Don’t feel guilty about throwing away (or donating) anything that accumulates a layer of dust. Even if you think they’ll prove themselves valuable someday, those old pots and decorations will never be as valuable as a functional and inspiring workspace.

Sort the small stuff
Once you’ve rid your space of clutter, make designated spaces for the things you actually use. Keep your most often used tools in a caddy so you won’t have to collect them each time you head to the garden. Store the tools and tidbits you won’t need for a while on a pegboard or in designated bins.
Shelving is the traditional choice for storage, but much of that space often goes unused. To make the most of it, stack plastic organizers and bins. Depending on the size and design, they’ll hold anything from potting mix to plant tags.
Organize the shovels and such
Don’t settle for leaning those big shovels and rakes in a corner. Either purchase a freestanding garden-tool rack or make your own wall rack with nothing more than two-by-fours.
Attach one or more two-by-fours to the wall horizontally, securing them to studs for extra stability. Purchase a variety of specialized wall hooks from the hardware store, and arrange them beforehand to leave enough space for each tool. Use large hooks in sets of two to store hoses and extension cords, or even in sets of three to store string trimmers by laying them flat.
Top photo from Zillow listing.
Related:

